Editing Your Own Video
The Video Editor tool opens the VDClip editor on videos you upload, or on a blank project, so you can cut, adjust, and finalize everything yourself. There is no AI clipping. Uploading and editing are free, and only exporting the finished video uses credits.
When to Use the Video Editor
Use it when you already have a video and want full manual control, or when you want to start a project from scratch, instead of letting the AI cut clips for you. To have the AI find and cut highlights, use the Create with AI flow.
Step-by-Step
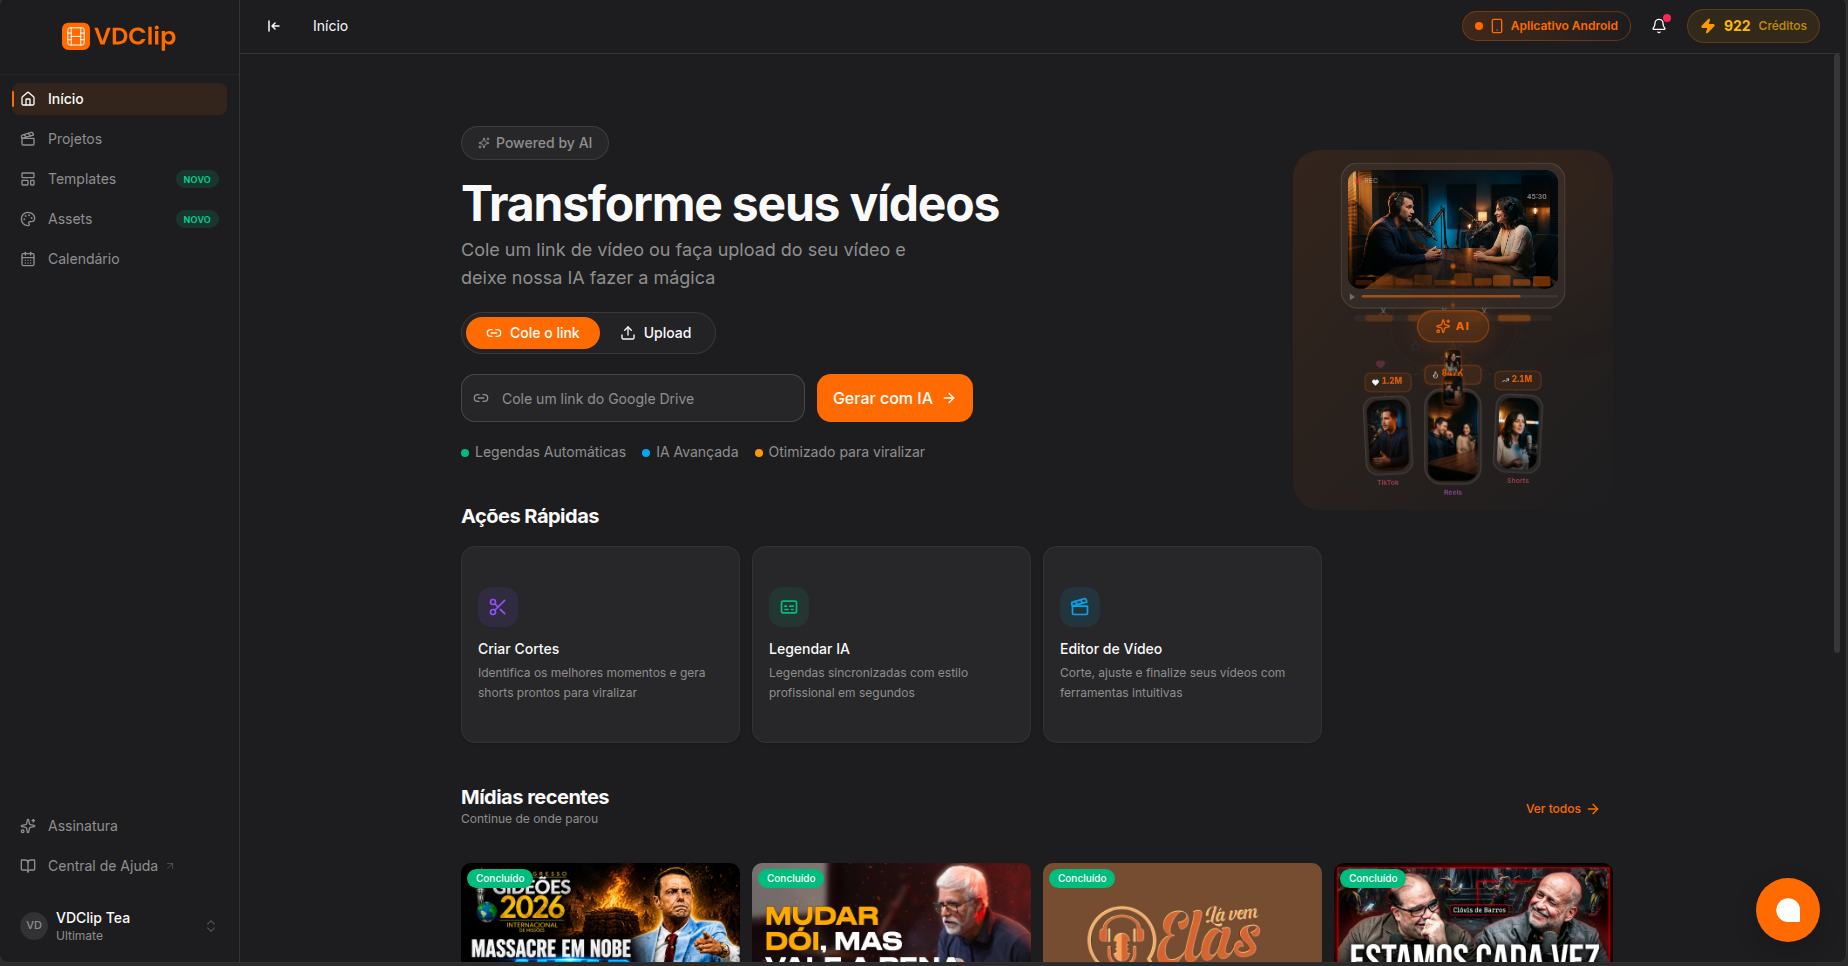
Open the Video Editor
On the dashboard, choose the Video Editor tool (“Edit video”).
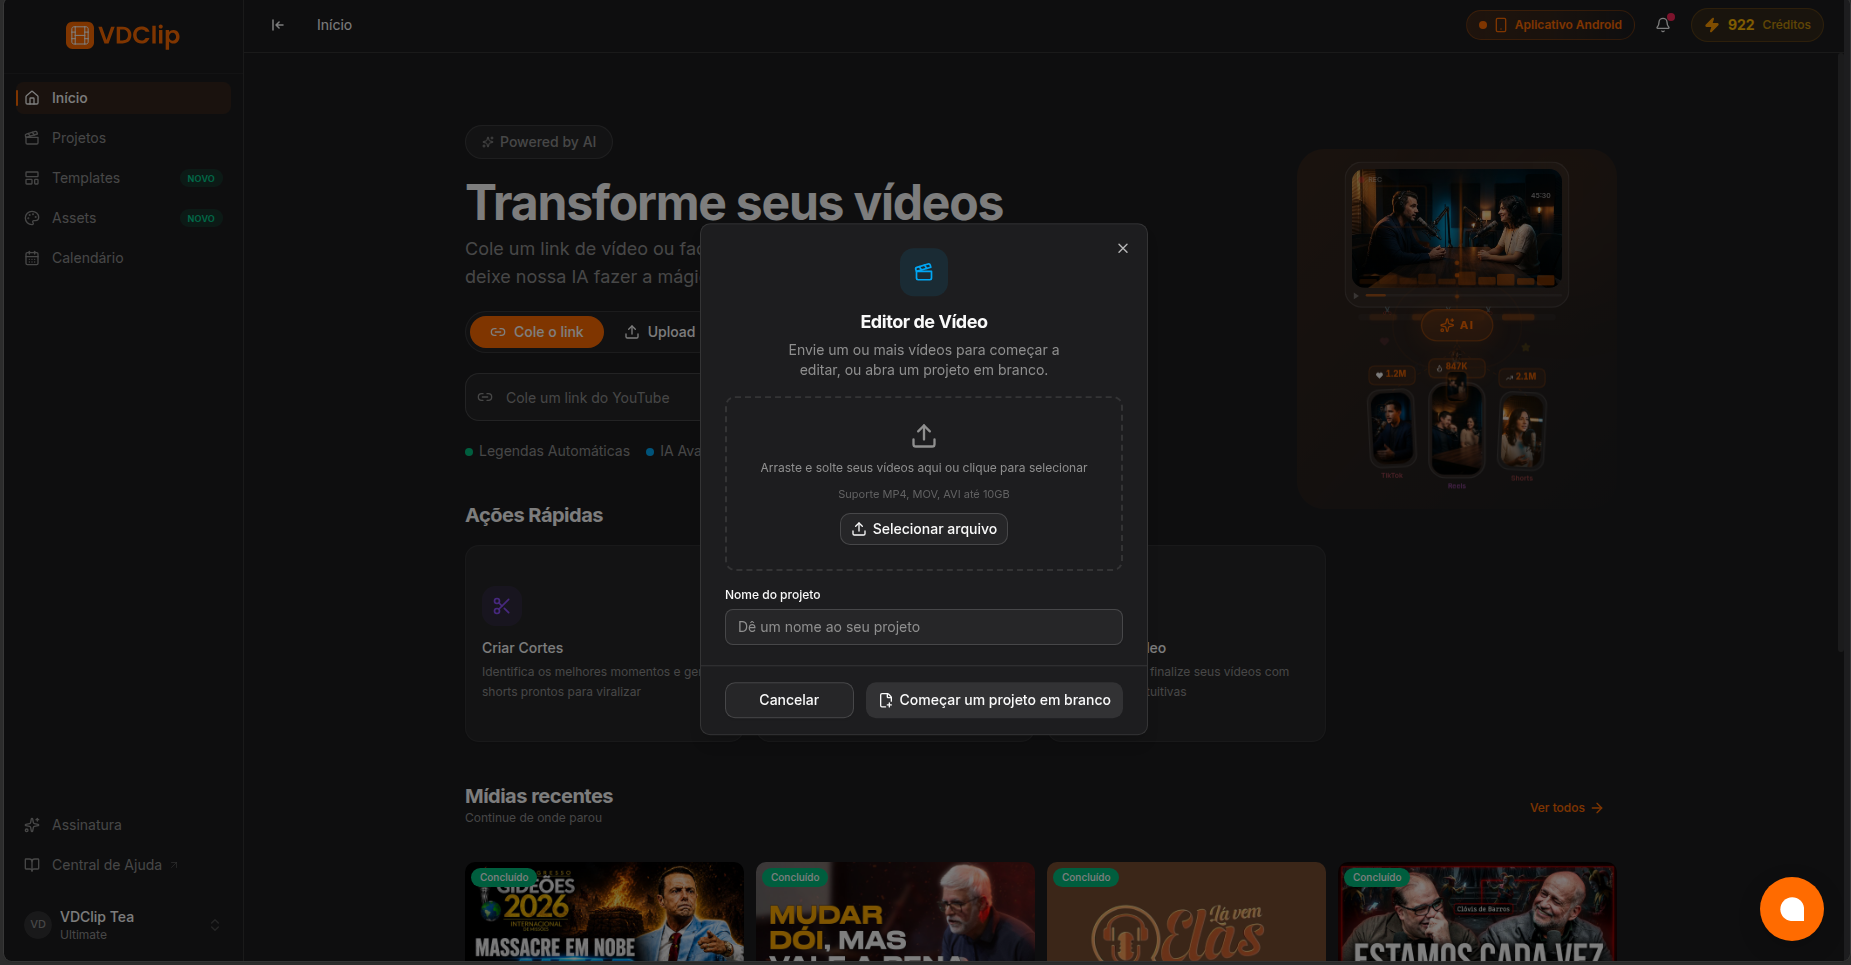
Add your videos or start blank
Upload one or more videos from your device, or choose Start a blank project to begin with an empty timeline. Common video formats are supported.
Name your project
Give the project a name so you can find it later in Projects.
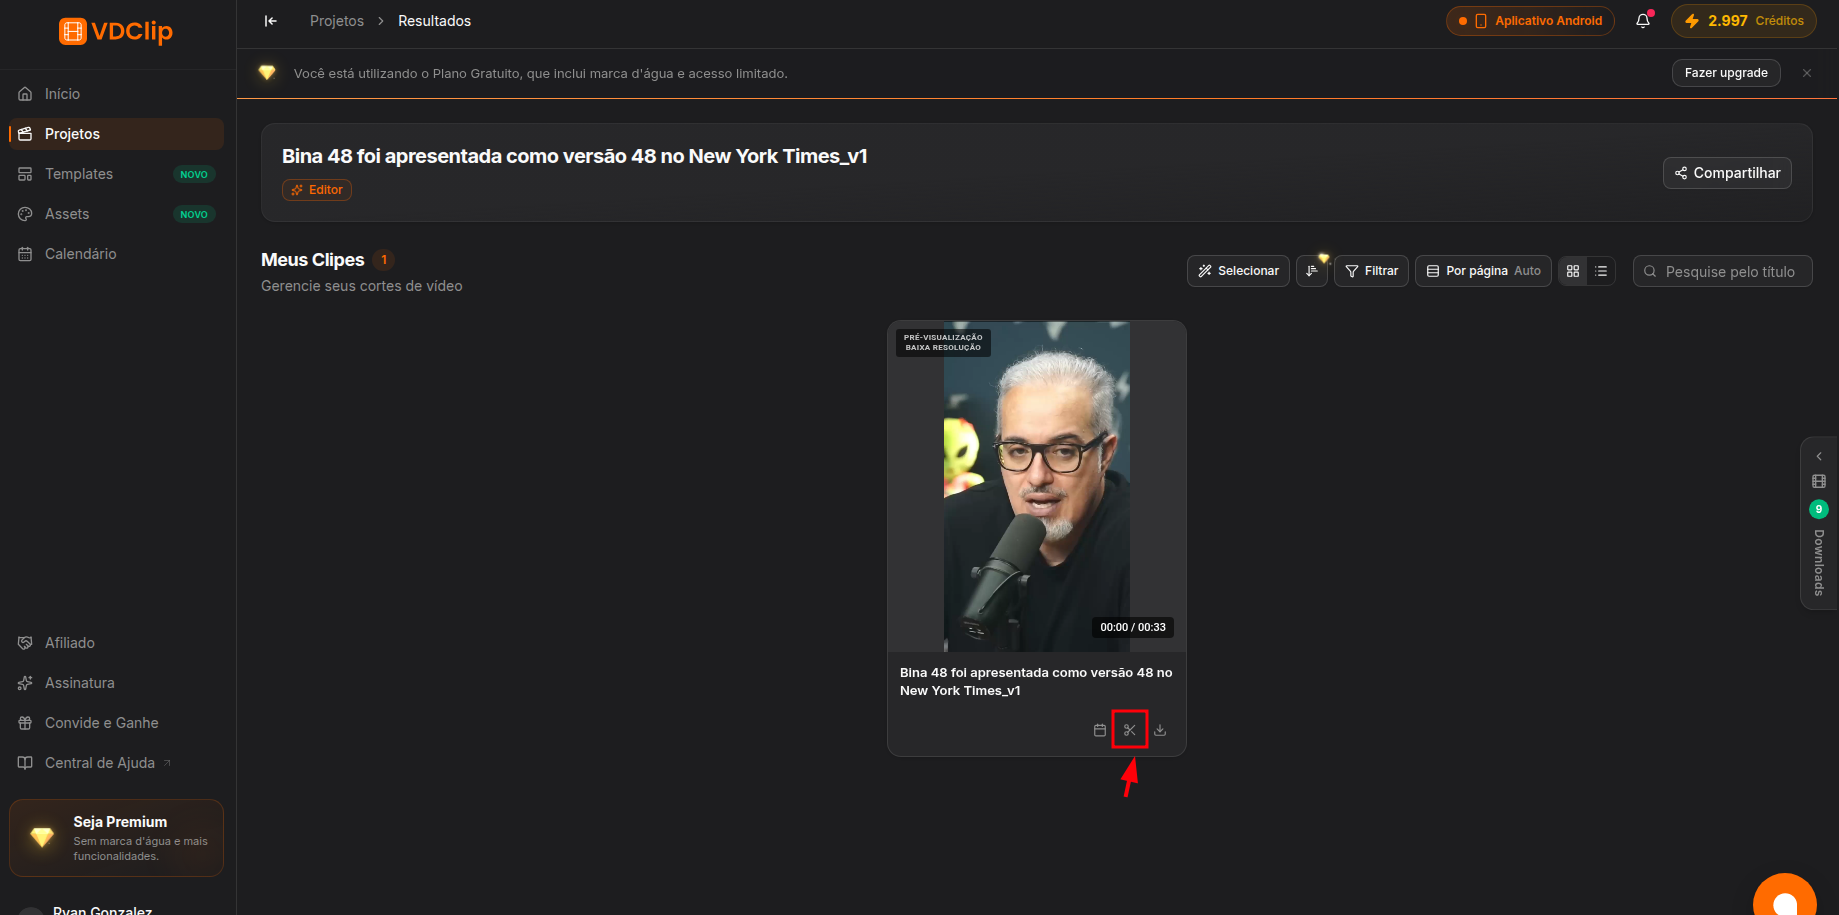
Open the editor
When the upload finishes, your project opens in Projects. Click the scissors button on the clip to open the editor, then trim, add media, captions, and effects, and export when you are done.
Adding your videos and editing in the Video Editor does not spend credits. When you export the finished video, the export uses credits based on its length, with a minimum charge, whether or not you made edits. The editor shows the exact cost before you confirm. See the pricing page for details.
What You Can Do Next
Once the editor opens, everything in the editor works the same as for an AI clip: layouts and crop, text and captions, audio and music, effects, and export.