Viewing Results
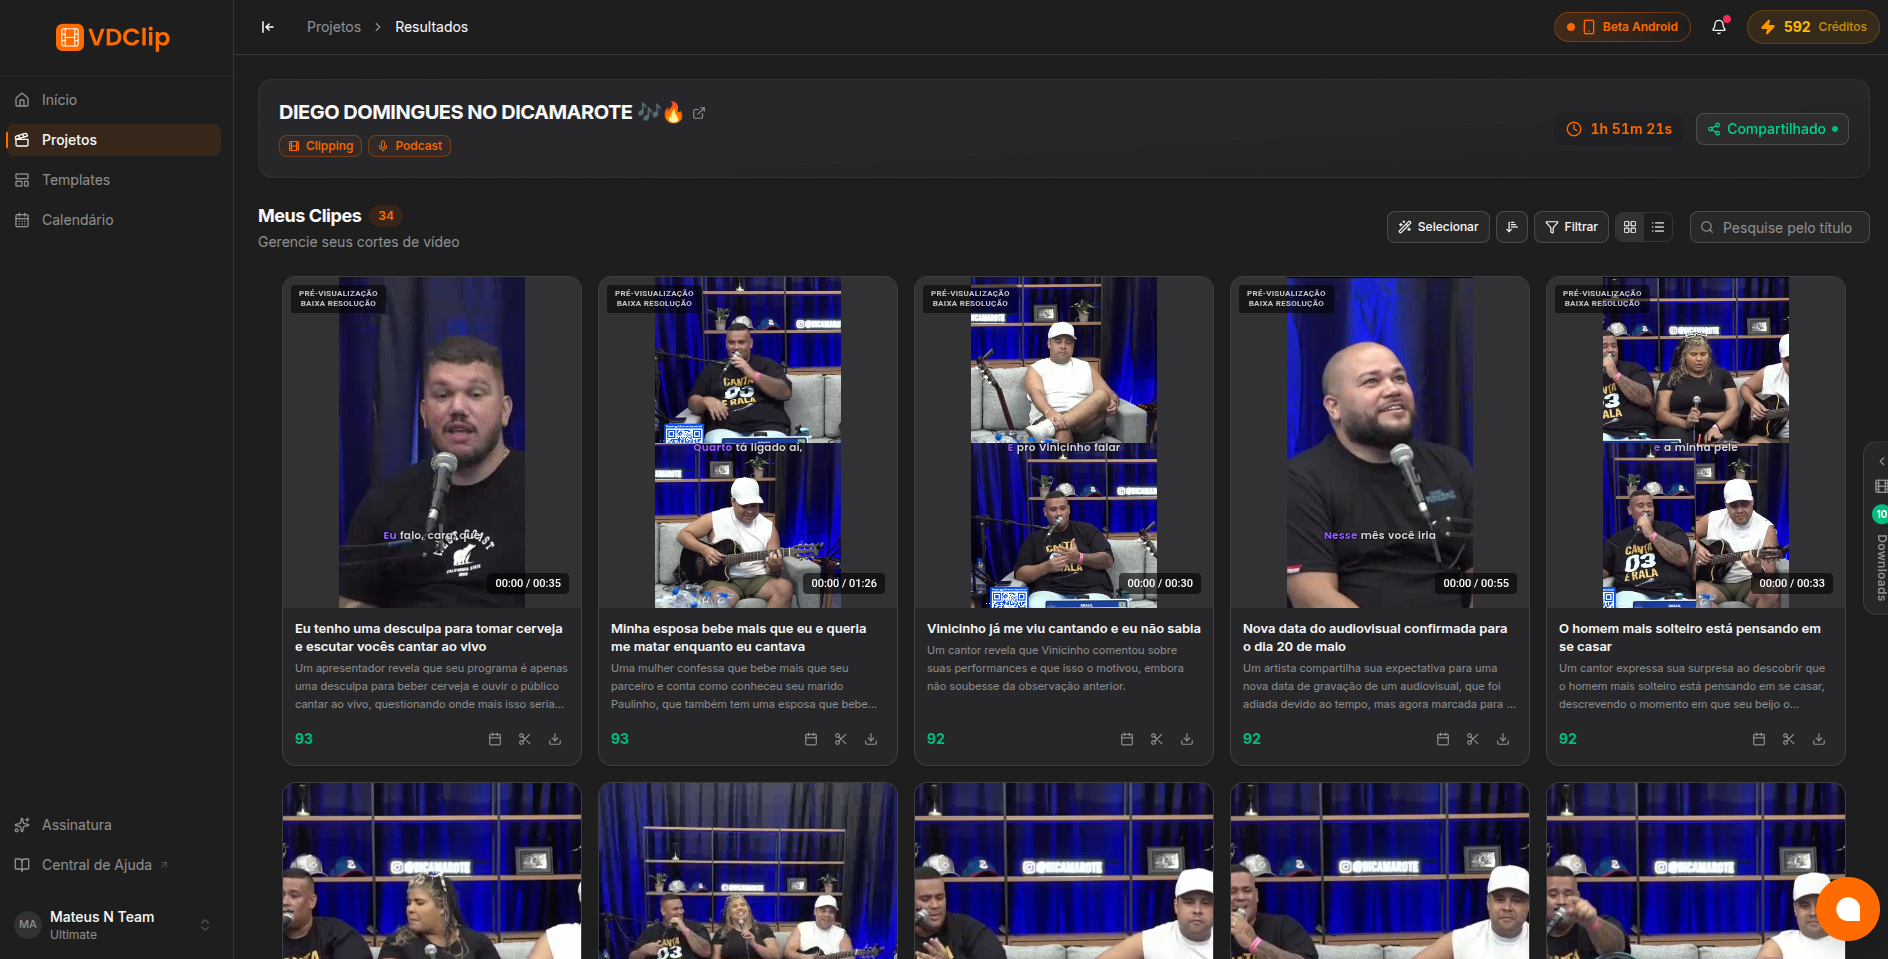
When processing finishes, the results page brings together all the clips VDClip generated from your video. Here you preview each clip, render the final versions, rate their quality, and publish them to social media.
Each card shows the video preview, the AI-generated title, the duration, the status (pending or rendered), and the action buttons. Toggle between the grid and list views with the switcher at the top of the page.
Rendering Clips
Clips must be rendered before they can be downloaded or posted. You can render them one at a time or several in batch.
Preview the clip
Click the play button on the card to watch the full clip in your browser and confirm it captures the right moment.
Select one or more clips
For a single render, go straight to the card you want. For a batch render, use the selection controls and choose all the clips worth publishing.
Click Render
Click the “Render” button on the card or in the selection action. Rendering runs in the background and each clip is processed independently.
Track the status
The status changes to “Rendered” as each clip is ready. After that you can download or post it.
Each render consumes credits from your account, and the total depends on the clip duration and your plan. Previewing before rendering helps you save. Check the pricing page for your plan’s limits.
Creating a Clip Manually
Need a moment the AI did not turn into its own clip? Use Manual cut from the clips toolbar to create a new clip from the original source video, setting the start and end yourself. See Manual Cut for the full flow.
Editing Clips in Bulk
To give several clips a consistent look at once, select them and use Bulk edit to change the caption style, overlay, and music together in one save. See Bulk Editing Clips.
Rating and Publishing Clips
Rate the quality of each clip with the like and dislike buttons on the card. Your ratings do not change your current clips: they are feedback that helps VDClip improve its AI selection in future videos.
For clips already shared, the post history section shows which platforms the clip was posted to, when, and with what status (published, scheduled, or failed). Check it before posting again to avoid duplicates.
When you are ready, click “Post” on any rendered clip to open the posting page, where you configure platform-specific settings and schedule or publish immediately.