Visuals
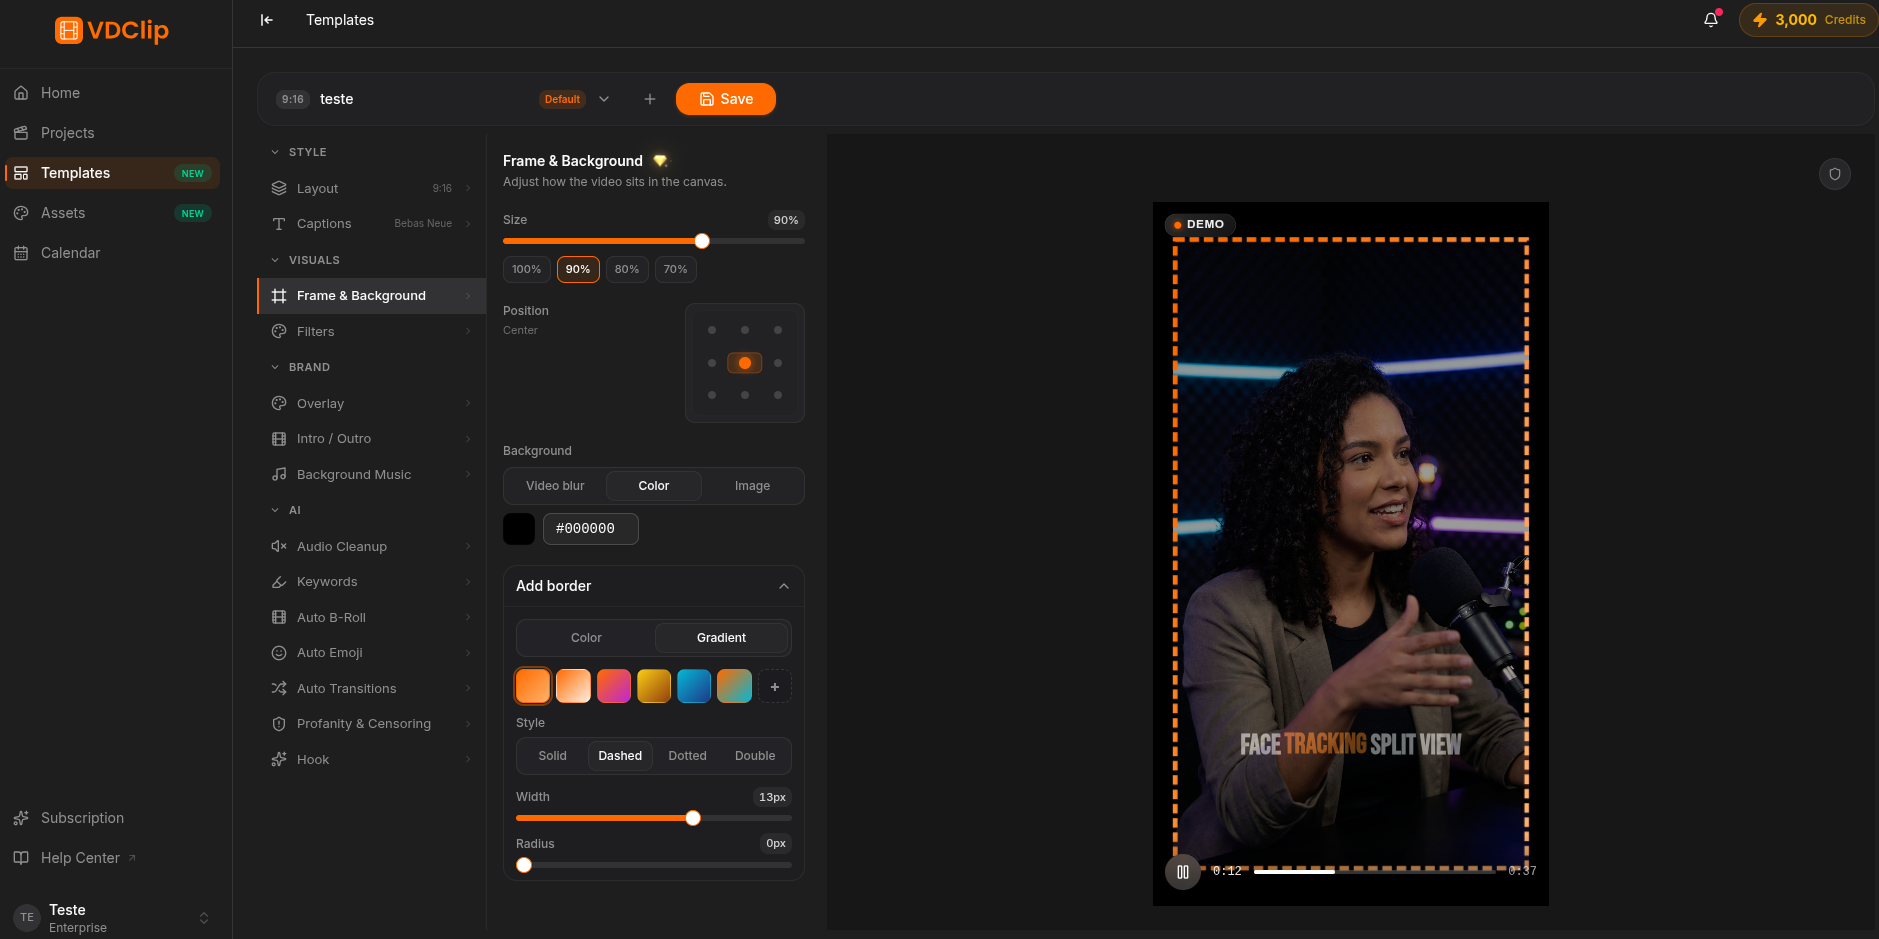
The Visuals panel controls how the video looks: what fills the space around it, color grading, and the border. Every change applies to all clips generated by the template.
How to set it up
Choose the background type
Pick what fills the space outside the video: Blurred Video (a blurred version of the clip itself, the most versatile), Solid Color (a flat color, great for your brand color), or Image (a background image). To use your own image, add it first on the Assets page.
Apply a filter
In Filters, click a cinematic preset to apply the same color grading to every clip. Options include Cinematic, Kodak, Vintage, Noir, Warm, and Cool. Start here and refine later.
Fine-tune color
Manual controls layer on top of the chosen filter: adjust brightness, contrast, saturation, and temperature. Keep changes subtle to avoid an over-processed look.
Enable the border
Turn on the video border to frame the clip and reinforce your brand. With the border on, adjust color, width, and corner radius.
Fine color controls
Four controls refine the grade after the filter:
- Brightness lightens or darkens the whole image.
- Contrast increases or reduces the difference between lights and darks.
- Saturation makes colors more vivid or more muted.
- Temperature tilts the image toward warm or cool tones.