Posting Clips
Once a clip is rendered, you can publish it straight to your connected social media accounts. The flow is the same as posting from the Calendar: choose the accounts, adjust the options for each platform, and publish now or schedule.
Before you start, make sure you have at least one connected social media account and a rendered clip ready.
How to Post
Click Post
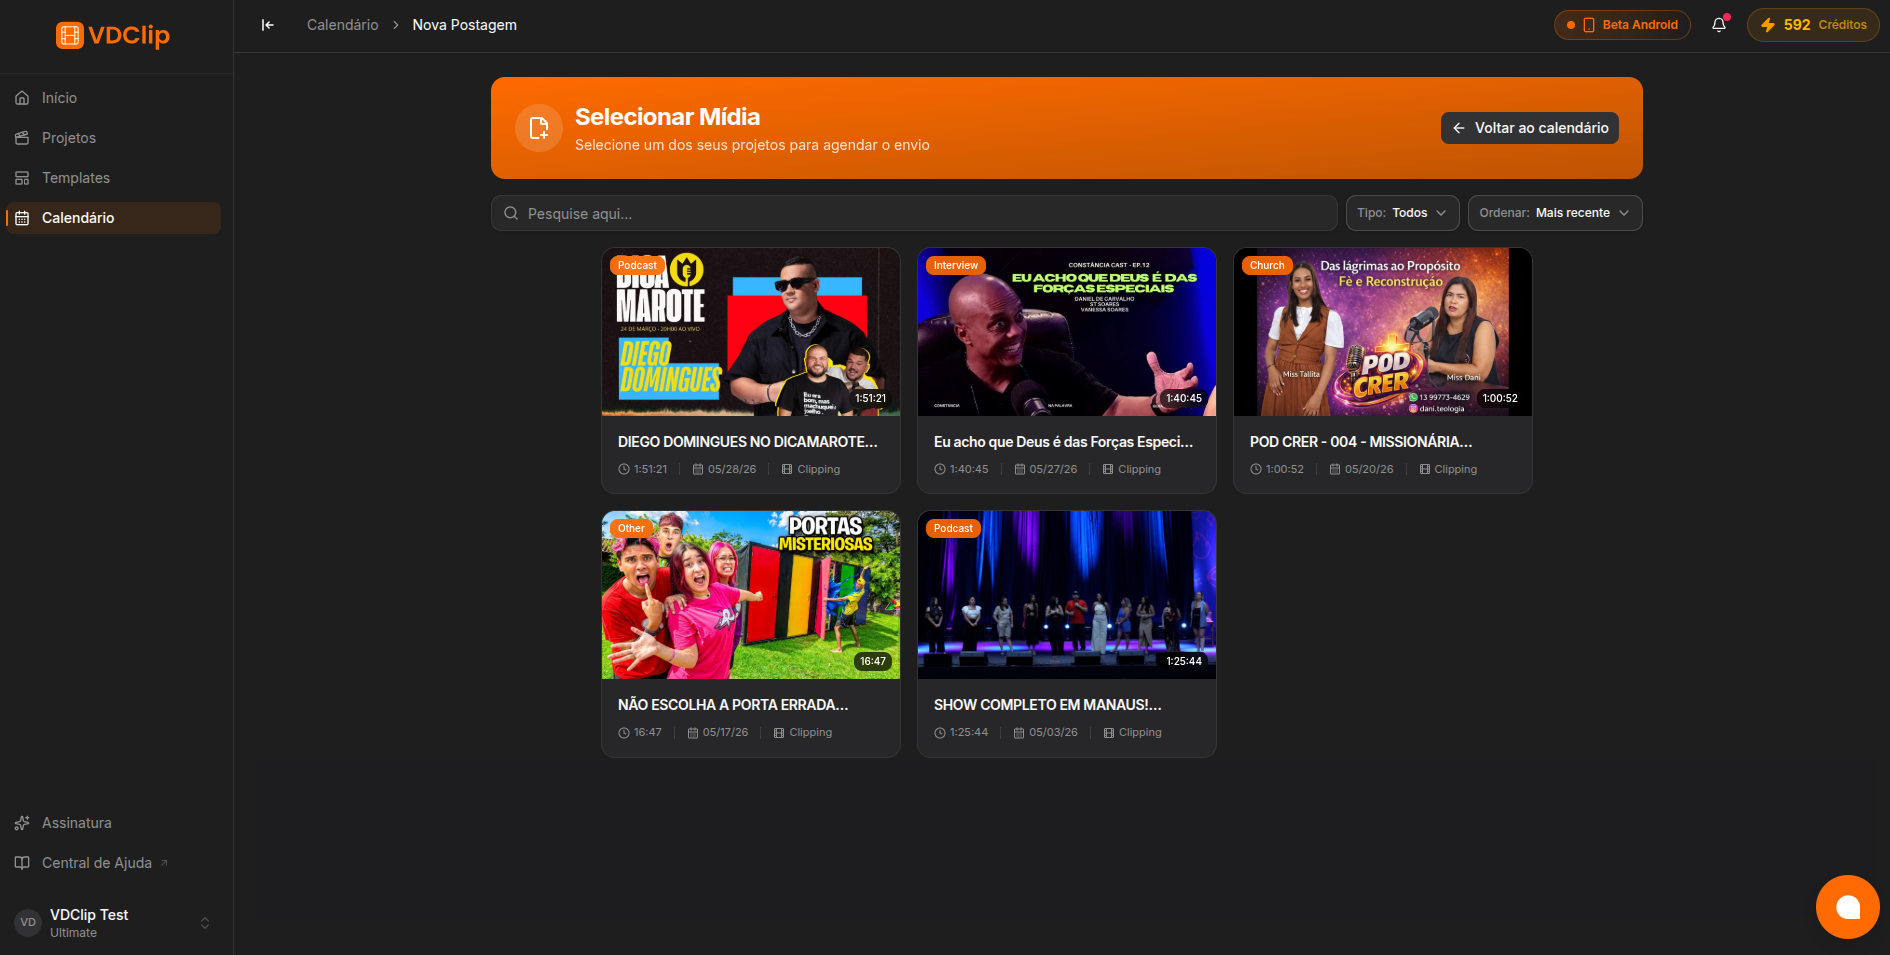
On the results page, find the rendered clip and click Post. This opens the posting configuration screen.
Select the accounts
Choose which connected accounts will receive the post. You can select multiple accounts on YouTube, TikTok, Instagram, Facebook, LinkedIn, and Threads at the same time.
Adjust the options for each platform
Fill in the details for each selected account (title, caption, visibility, and the like). The options change per platform, as in the table below.
Add hashtags
Include relevant hashtags to help with discoverability. VDClip validates the tags according to each platform’s requirements.
Publish now or schedule
Choose to publish immediately or set a date and time. Then confirm. Scheduled posts appear in your Calendar.
Platform-Specific Settings
Each network has its own fields when posting:
- YouTube: title, description, visibility (public, unlisted, or private), thumbnail, and license.
- TikTok: caption, visibility, and the Duet, Stitch, and comments controls.
- Instagram: caption, alt text, hide likes, and disable comments.
- Facebook: caption and visibility.
- LinkedIn: caption, account type (personal or company), and visibility (public or connections).
- Threads: caption and public post (no per-post options).
When to Publish
- Publish now: the clip goes to all selected accounts as soon as you confirm.
- Schedule for later: choose a date and time; the post goes into your Calendar, where you can manage it before the scheduled time.
After posting or scheduling, the clip’s post history on the results page is updated, and you can keep posting the same clip to other platforms.
The number of posts per day or per month varies by plan. Check the pricing page for your plan’s limits.